Link Repository GitHub untuk Pratikum ini dapat dilihat dari link berikut GitHub
Instalasi Lingkungan Flutter
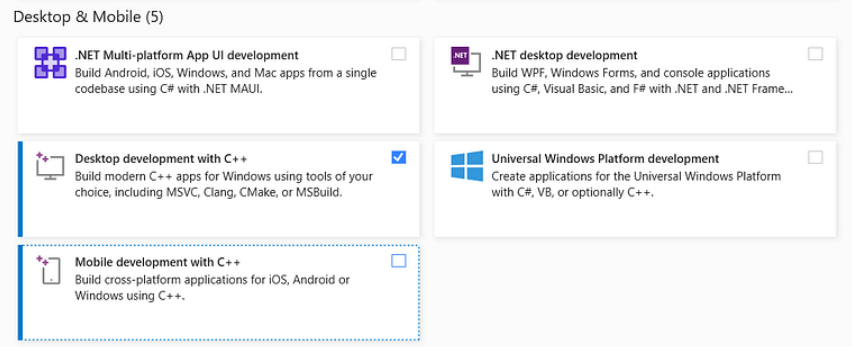
- Install Visual Studio lewat link berikut visual-studio kemudian pada proses instalasinya centang pada bagian Desktop development with C++
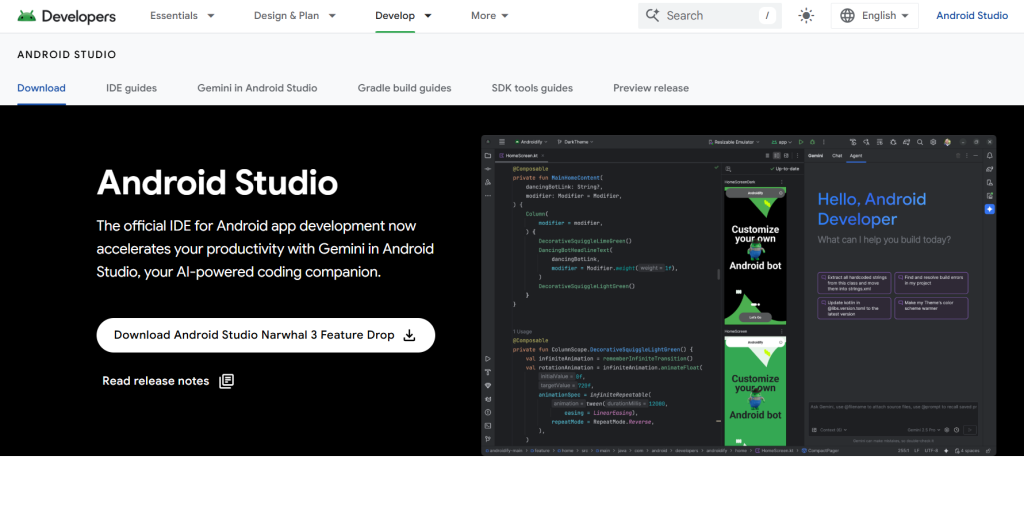
- Kemudia install Android Studio lewat link berikut android-studio
- Install SDK-Flutter lewat link berikut SDK Flutter
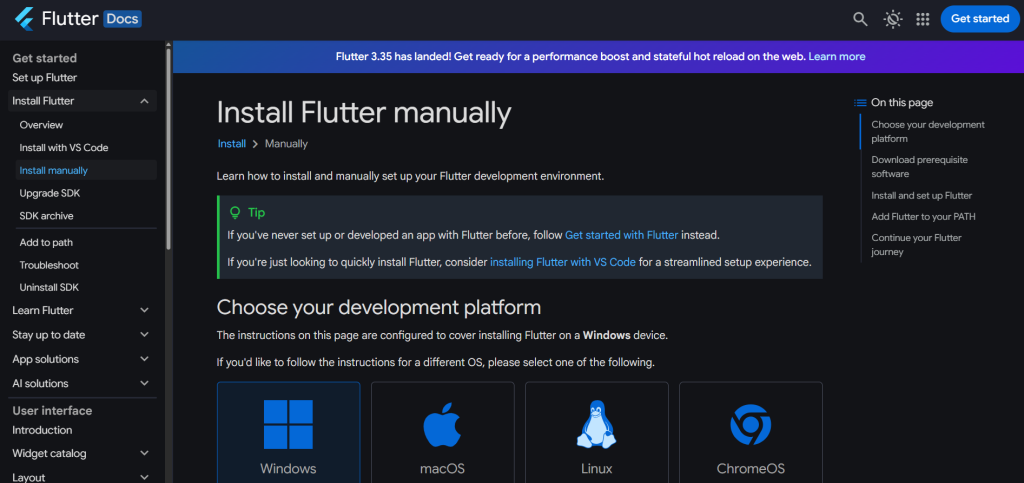
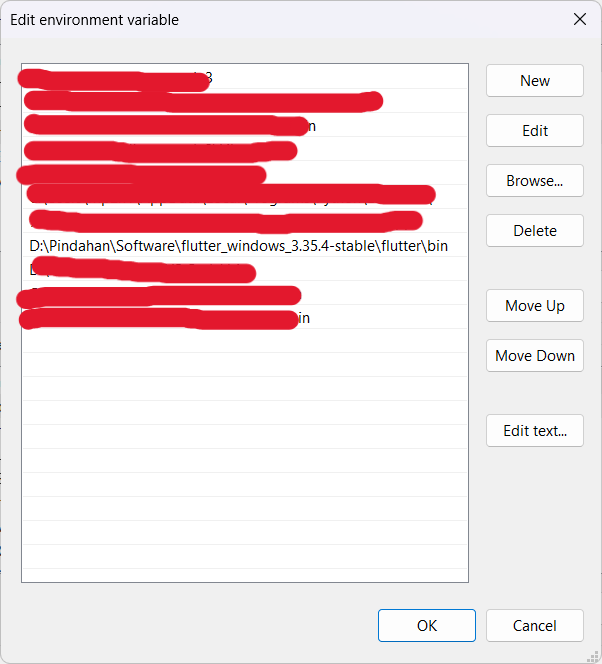
- ekstrak hasil donwload SDK tadi dan copy PATH nya
- Kemudian tambahkan ke Variabel Environment PATH komputer anda
- Cek setup flutter development dengan mengetikkan perintah
flutter docktordi terminal
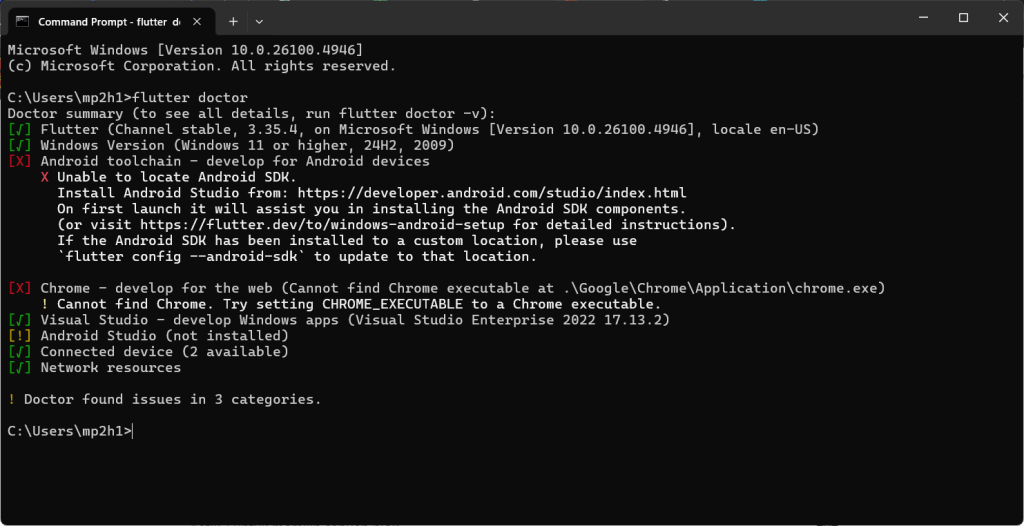
- disini saya ada 2 warning karena saya tidak menggunakan Android Studio dan Saya tidak menggunakan CHROME untuk flutter
Membuat Project Pertama Flutter
- untuk membuat project Flutter tinggal menggunakan command
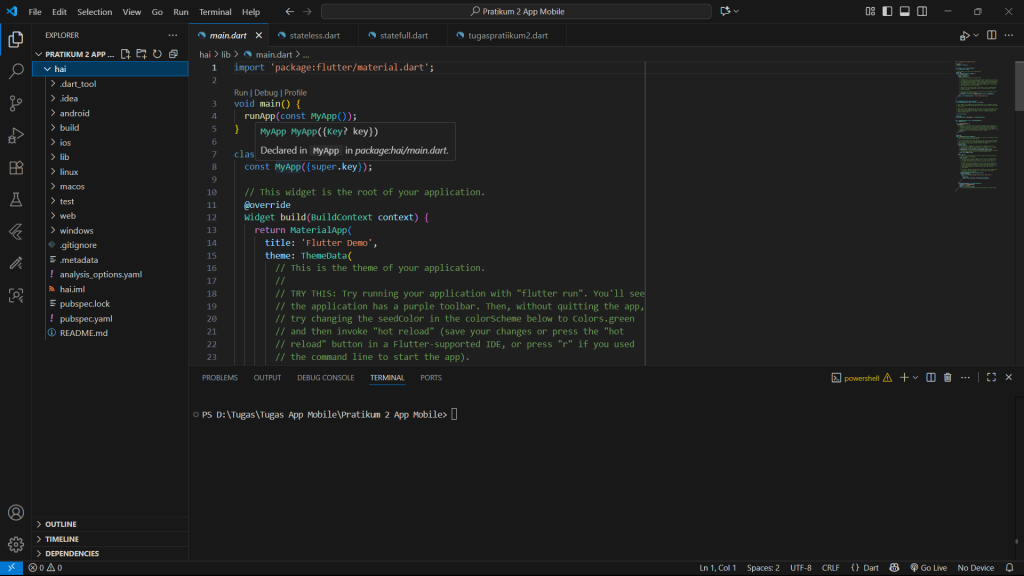
flutter create <nama_project>dengan ini flutter akan membuat sebuah project dengan nama yang dipilih
- maka akan terlihat project seperti ini
- lalu untuk menjalankan project ini maka tinggal run
flutter run
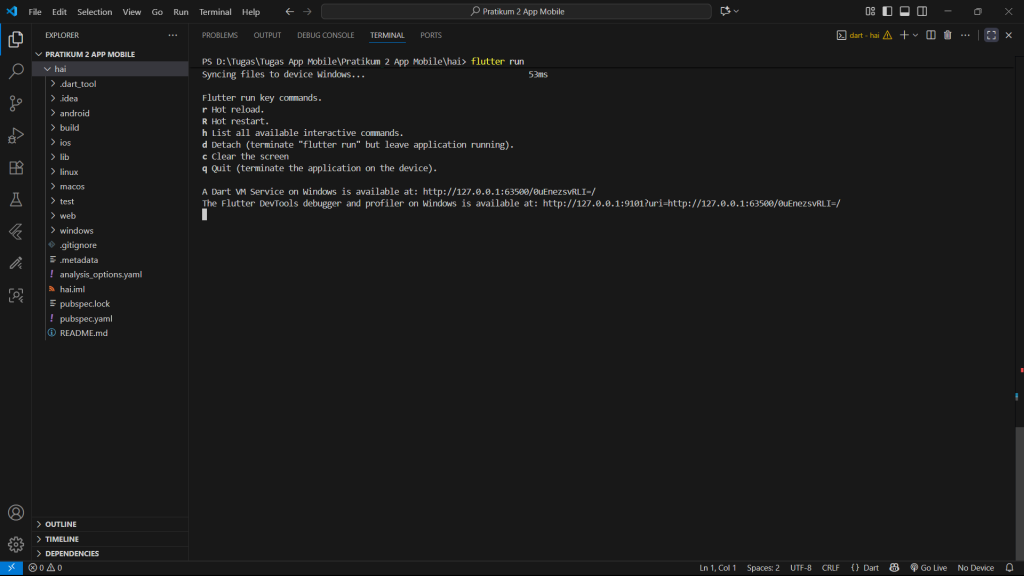
- nanti akan ada pilihan, apakah untuk Windows, Edge, atau Chrome, ini bebas ygy
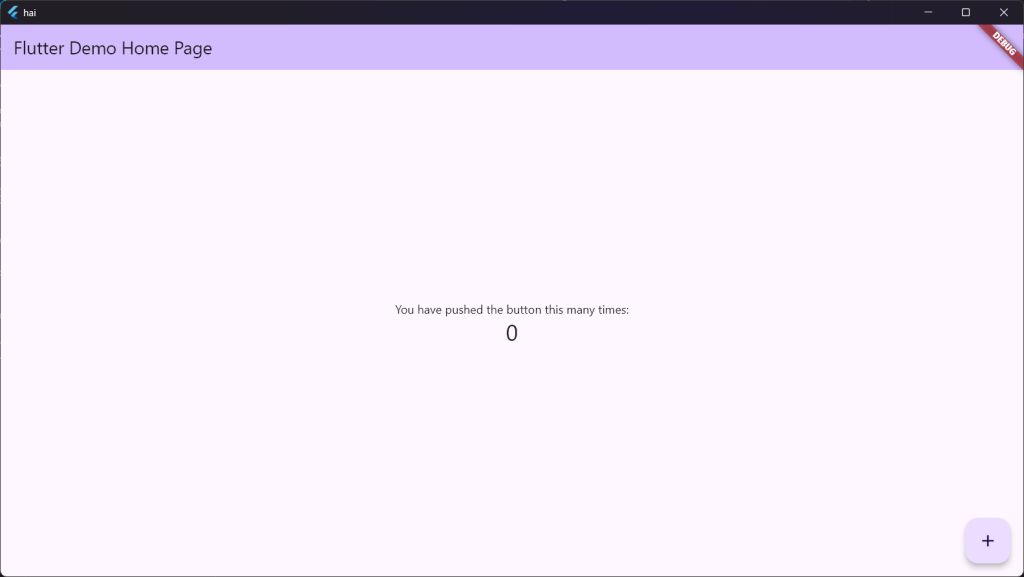
- maka akan tampil bagian demo seperti ini
STATELESS VS STATEFULL
Stateless – widget yang data atau tampilannya tidak mengalami perubahan ketika sebuah state dijalankan, Widget ini bersifat statis atau tetap misalnya teks statis, logo aplikasi dll
Statefull – widget dinamis yang ketika sebuah state berubah maka tampilan UI juga berubah. contohnya ketika tombol diklik atau ditekan maka tombol berubah warna atau form input nilainya berubah.
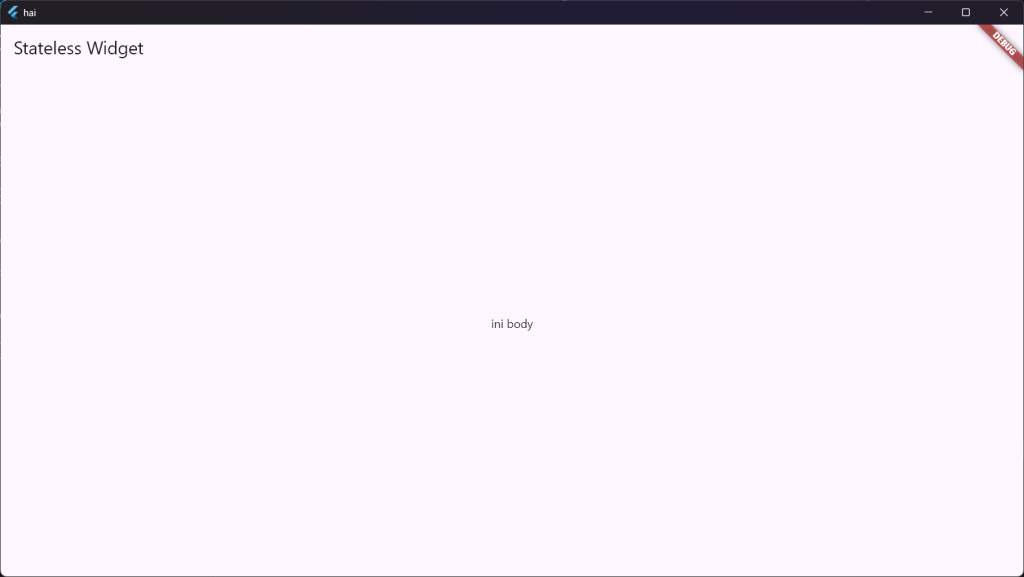
- Contoh widget Stateless
import 'package:flutter/material.dart';

void main() {
  runApp(const MyStateless());
}

class MyStateless extends StatelessWidget {
  const MyStateless({super.key});
  @override
  Widget build(BuildContext context) {
    return MaterialApp(
      home: Scaffold(
        appBar: AppBar(title: const Text("Stateless Widget")),
        body: const Center(child: Text("ini body")),
      ),
    );
  }
}
- outputnya:
- Contoh widget Statefull
import 'package:flutter/material.dart';

void main() {
  runApp(const MyStatefull());
}

class MyStatefull extends StatefulWidget {
  const MyStatefull({super.key});

  @override
  State<MyStatefull> createState() => _MyStatefullState();
}

class _MyStatefullState extends State<MyStatefull> {
  int _kelipatan = 0;

  void _kelipatanDua() {
    setState(() {
      _kelipatan += 2;
    });
  }

  @override
  Widget build(BuildContext context) {
    return MaterialApp(
      home: Scaffold(
        appBar: AppBar(title: const Text("Stateful Widget")),
        body: Center(
          child: Column(
            mainAxisAlignment: MainAxisAlignment.center,
            children: [
              Container(
                width: 120,
                height: 120,
                color: const Color.fromARGB(255, 55, 233, 10),
                child: Column(
                  mainAxisAlignment: MainAxisAlignment.center,
                  children: [
                    const Text("Kelipatan 2 : "),
                    Text(
                      '$_kelipatan',
                      style: Theme.of(context).textTheme.headlineMedium,
                    ),
                  ],
                ),
              ),
              const SizedBox(height: 20),
              Row(
                mainAxisAlignment: MainAxisAlignment.center,
                children: const [
                  CircleAvatar(
                    radius: 30,
                    backgroundColor: Colors.green,
                    child: Text(
                      "IF",
                      style: TextStyle(fontSize: 20, color: Colors.white),
                    ),
                  ),
                  SizedBox(width: 10),
                  CircleAvatar(
                    radius: 30,
                    backgroundColor: Colors.blue,
                    child: Icon(
                      Icons.person,
                      color: Colors.white,
                      size: 30,
                    ),
                  ),
                ],
              ),
            ],
          ),
        ),
        floatingActionButton: FloatingActionButton(
          onPressed: _kelipatanDua,
          tooltip: "Kelipatan 2",
          child: const Icon(Icons.add),
        ),
      ),
    );
  }
}
- Outputnya:
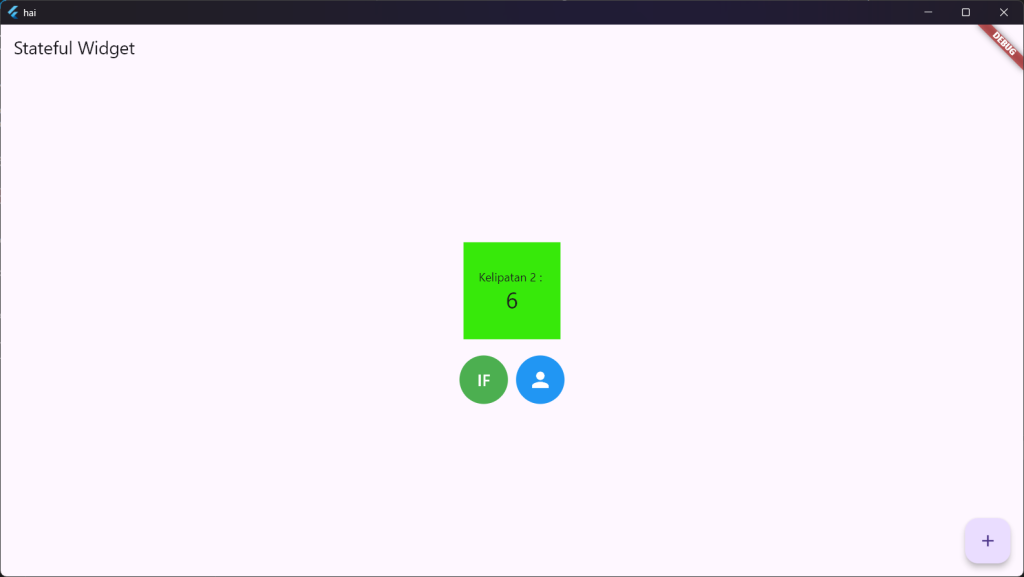
- Ketika tombol (+) ditekan maka akan mengubah tampilan pada angka menjadi kelipatan 2
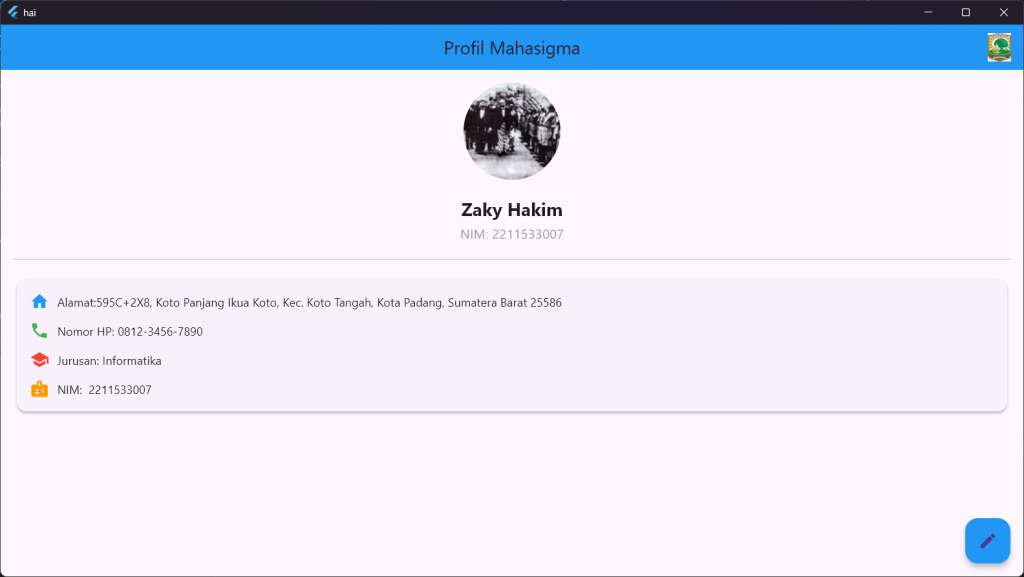
TUGAS PRATIKUM 2
Buatlah tampilan yang berisi informasi profile kalian (foto, nama, nim, Alamat, nomor handphone, jurusan) dengan mengimplementasikan seluruh basic widget yang ada pada modul praktikum ini.
Berikut Kode yang saya gunakan
import 'package:flutter/material.dart';

void main() {
  runApp(const ProfileApp());
}

class ProfileApp extends StatelessWidget {
  const ProfileApp({super.key});

  @override
  Widget build(BuildContext context) {
    return const MaterialApp(
      debugShowCheckedModeBanner: false,
      home: ProfilePage(),
    );
  }
}

class ProfilePage extends StatelessWidget {
  const ProfilePage({super.key});

  @override
  Widget build(BuildContext context) {
    return Scaffold(
      appBar: AppBar(
        title: const Text("Profil Mahasigma"),
        centerTitle: true,
        backgroundColor: Colors.blue,
        actions: [
          Padding(
            padding: const EdgeInsets.only(right: 12),
            child: Image.asset(
              "asset/logoUnand.jpeg", // ganti dengan logo universitas kamu
              height: 35,
              width: 35,
            ),
          ),
        ],
      ),
      body: ListView(
        padding: const EdgeInsets.all(16),
        children: [
          // FOTO PROFIL
          Center(
            child: Stack(
              alignment: Alignment.bottomRight,
              children: [
                const CircleAvatar(
                  radius: 60,
                  backgroundImage: AssetImage(
                    "asset/krembuk.jpg",
                  ), // ganti dengan foto kamu
                ),
              ],
            ),
          ),
          const SizedBox(height: 20),

          // NAMA & NIM
          Center(
            child: Column(
              children: const [
                Text(
                  "Zaky Hakim",
                  style: TextStyle(fontSize: 22, fontWeight: FontWeight.bold),
                ),
                SizedBox(height: 4),
                Text(
                  "NIM: 2211533007",
                  style: TextStyle(fontSize: 16, color: Colors.grey),
                ),
              ],
            ),
          ),
          const Divider(height: 40, thickness: 1),

          // INFORMASI LAIN
          Card(
            elevation: 3,
            child: Padding(
              padding: const EdgeInsets.all(16),
              child: Column(
                children: [
                  Row(
                    children: const [
                      Icon(Icons.home, color: Colors.blue),
                      SizedBox(width: 10),
                      Expanded(
                        child: Text(
                          "Alamat:595C+2X8, Koto Panjang Ikua Koto, Kec. Koto Tangah, Kota Padang, Sumatera Barat 25586",
                        ),
                      ),
                    ],
                  ),
                  const SizedBox(height: 12),
                  Row(
                    children: const [
                      Icon(Icons.phone, color: Colors.green),
                      SizedBox(width: 10),
                      Expanded(child: Text("Nomor HP: 0812-3456-7890")),
                    ],
                  ),
                  const SizedBox(height: 12),
                  Row(
                    children: const [
                      Icon(Icons.school, color: Colors.red),
                      SizedBox(width: 10),
                      Expanded(child: Text("Jurusan: Informatika")),
                    ],
                  ),
                  const SizedBox(height: 12,),
                  Row(
                    children: const [
                      Icon(
                        Icons.badge,
                        color: Colors.orange,
                      ), // lebih cocok untuk NIM
                      SizedBox(width: 10),
                      Expanded(child: Text("NIM:  2211533007")),
                    ],
                  ),
                ],
              ),
            ),
          ),
        ],
      ),

      // FLOATING BUTTON
      floatingActionButton: FloatingActionButton(
        onPressed: () {},
        backgroundColor: Colors.blue,
        child: const Icon(Icons.edit),
      ),
    );
  }
}
Berikut Outputnya: